Van Life Internet: Starlink, Hotspots & Boosters
You can work from a national forest in Montana. But only if your hotspot cooperates.
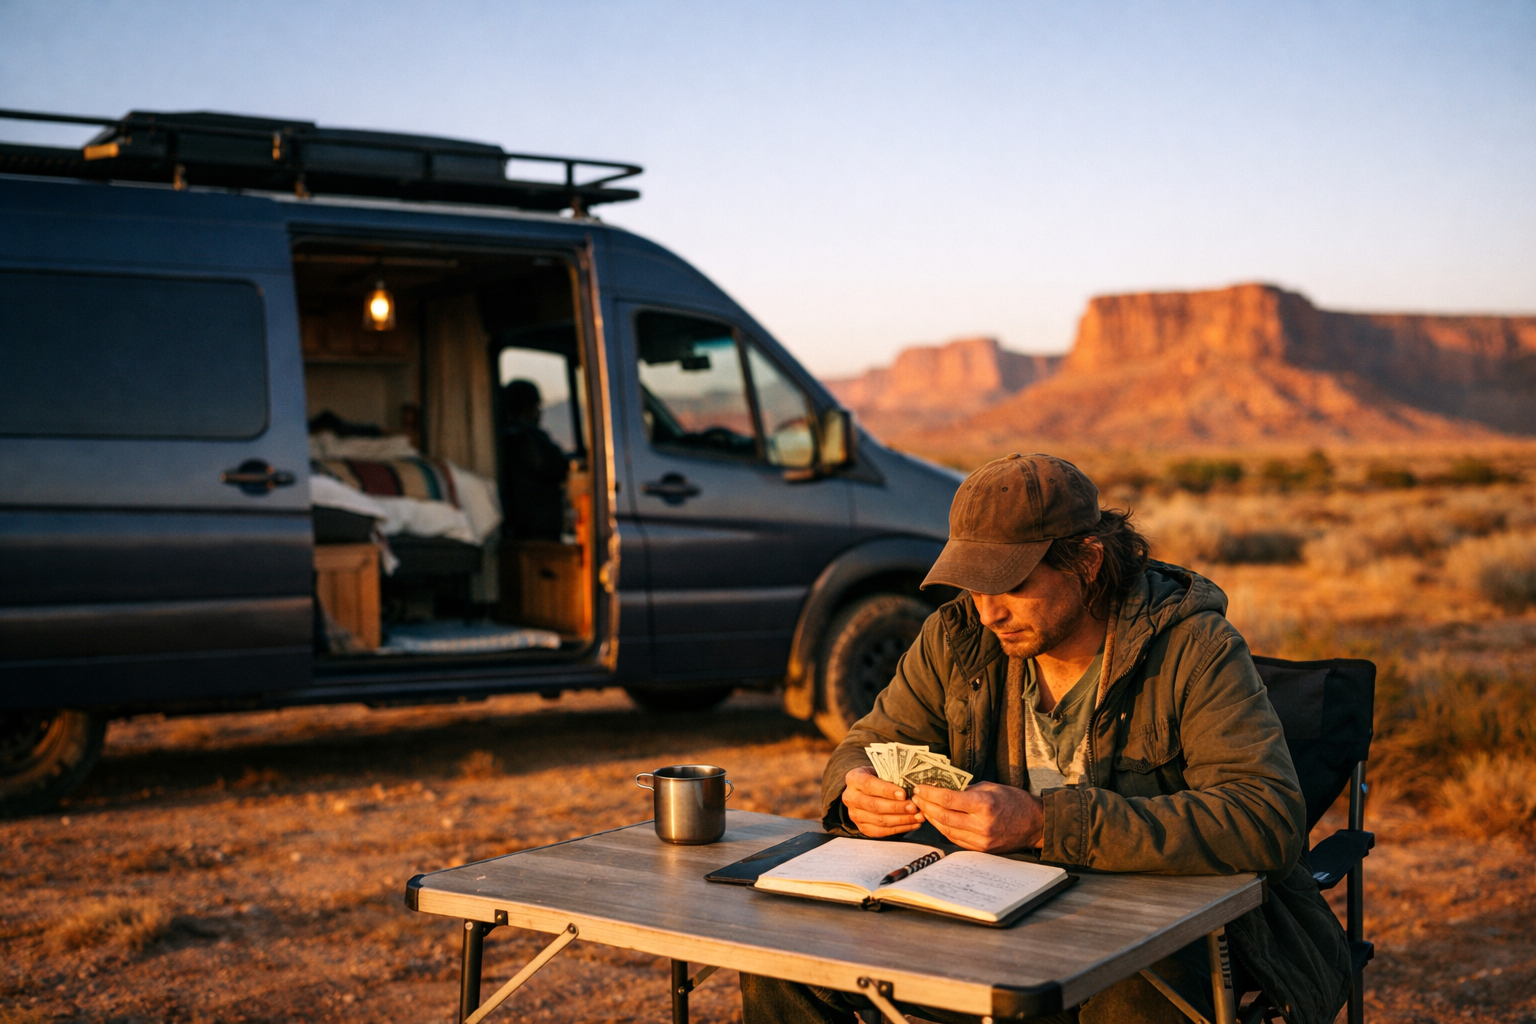
There's a specific kind of dread that every remote-working nomad knows. You've found the perfect spot. Pine trees, no neighbors, a creek somewhere nearby. You open your laptop, click into your morning standup, and the little spinning wheel just... spins.
No signal. No bars. No standup.
Internet is the single biggest operational challenge of working from a van. Not water, not power, not finding a place to park. Internet. Because you can skip a shower for a day. You can charge your laptop at a coffee shop. But if you miss a client deadline because your hotspot decided that this particular canyon doesn't exist, that's a real problem.
Here's what actually works, what doesn't, and how nomads who've been doing this for years keep their income flowing from the middle of nowhere.
Option 1: Cellular Hotspot
This is the backbone of most van life internet setups. A cellular hotspot, or your phone's personal hotspot, using an unlimited data plan from one of the major carriers.
The carriers
T-Mobile has the best coverage map on paper. Their Magenta Max plan gives you truly unlimited hotspot data at 5G speeds (until deprioritization kicks in on congested towers). In practice, T-Mobile is excellent in and around towns but drops off fast once you're more than a few miles from a highway. If you mostly camp near small towns and travel corridors, T-Mobile is hard to beat.
AT&T tends to have better rural coverage in many parts of the West. Their unlimited plans have hotspot caps (typically 50-100 GB at full speed before throttling), but the signal reaches places T-Mobile doesn't. A lot of full-time nomads carry AT&T as their primary or secondary line specifically for this reason.
Verizon has strong coverage overall but their unlimited plans are more aggressive about deprioritization and hotspot throttling. Still a solid option, especially if you're spending time in the eastern half of the country.
The gap between coverage maps and reality
Every carrier's coverage map is a lie. Not intentionally, but functionally. T-Mobile says you have coverage across the entirety of Highway 50 in Nevada. Your phone says you have one bar of LTE that can barely load a text message. The map shows coverage. The van says no service.
This is because coverage maps show what's theoretically reachable from a tower, not what you'll actually get inside a metal vehicle parked in a valley. Elevation matters enormously. Park on a ridge and you might get 30 Mbps. Drive 200 feet down into a campsite and you're back to nothing.
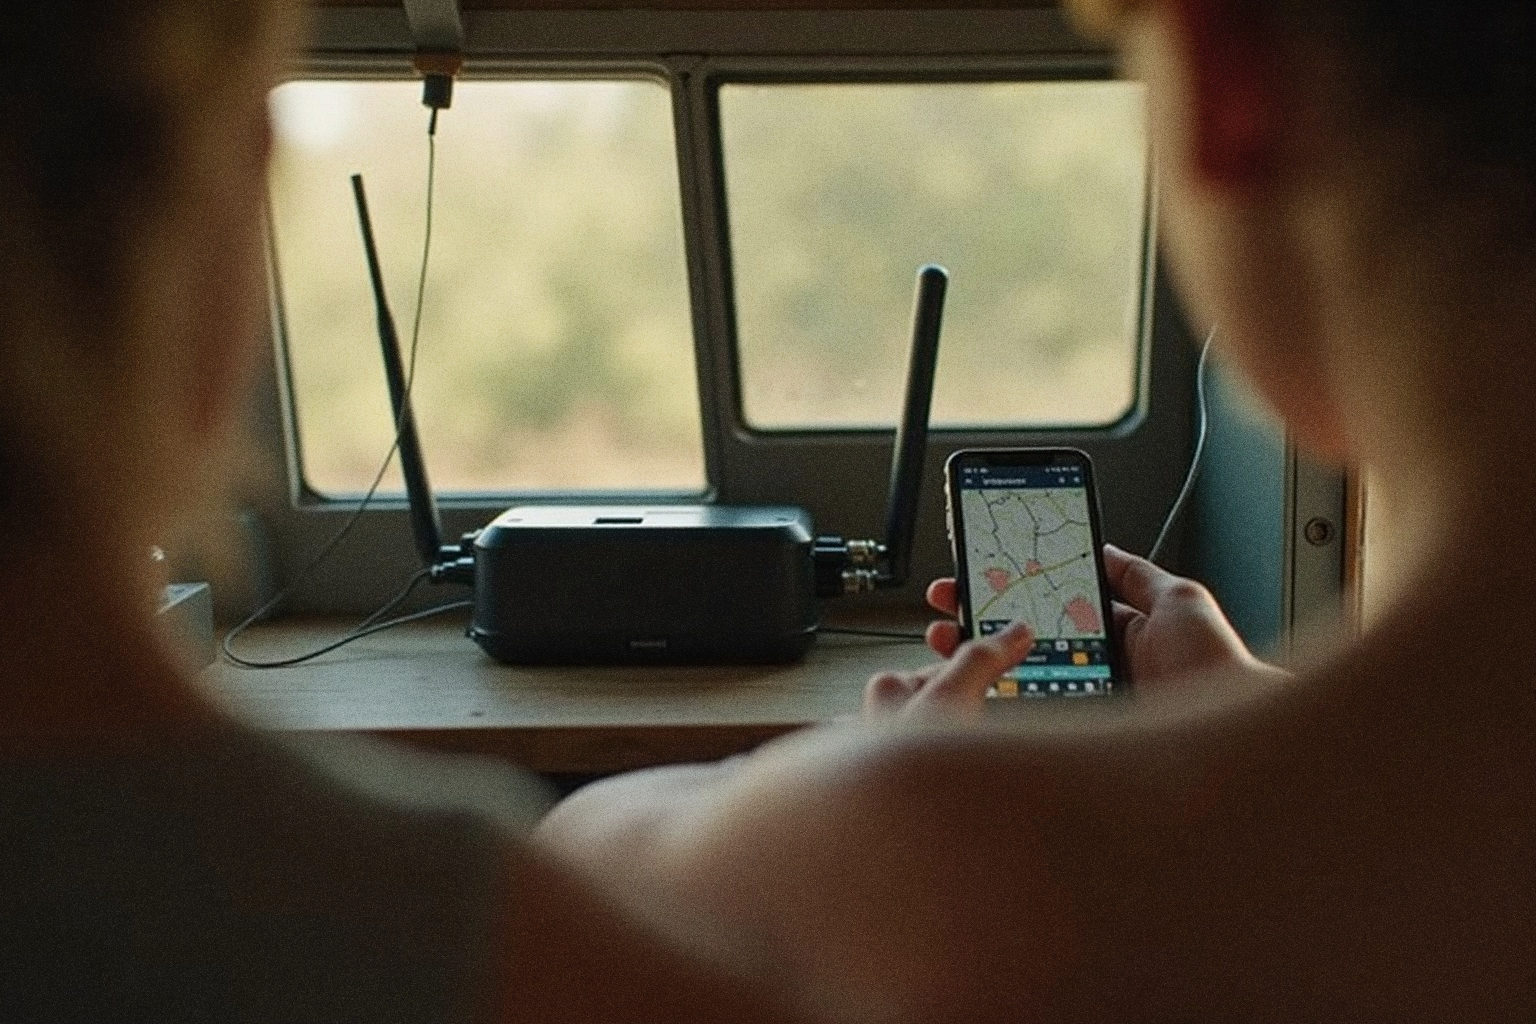
Signal boosters
A WeBoost (the Drive Reach or Drive X models) is the most common signal booster in the van life world. It takes a weak cellular signal, amplifies it, and rebroadcasts it inside your vehicle. It won't create signal where there is literally none, but it can turn one bar into three bars, which is often the difference between "unusable" and "I can take a video call."
The kit includes an external antenna (usually magnetic-mount on the roof), a booster unit, and an internal antenna. Total cost is $400-500. It's one of those purchases that pays for itself the first time it saves a workday.
For a more permanent setup, some nomads mount an external MIMO antenna on their roof, connected directly to a dedicated hotspot device like the Netgear Nighthawk. This pulls in signal better than any phone can and gives you a dedicated wifi network in your van.
Option 2: Starlink
Starlink changed the game. There's no other way to say it. Before Starlink, working from truly remote locations, national forests, BLM land deep in the desert, was basically impossible for anyone with a job that required video calls. Now it's routine.
What you get
The Starlink Roam plan runs about $120/month and gives you internet essentially anywhere you have a clear view of the sky. Speeds typically range from 25-100 Mbps, which is more than enough for video calls, large file uploads, and generally everything a remote worker needs. Latency is higher than cellular (40-60ms typically) but low enough for real-time communication.
The tradeoffs
Power draw. This is the big one. The Starlink dish pulls 40-75 watts while running, which is significant when you're living on solar and batteries. If you have a 400W solar setup and a 200Ah lithium battery (a pretty standard van build), running Starlink for 8 hours of work eats a meaningful chunk of your daily power budget. On cloudy days, you might have to choose between Starlink and your fridge.
The dish. The standard Starlink dish is not small. Mounting it permanently on a van roof means dealing with aerodynamics, height clearance, and finding a flat spot among your solar panels. Many nomads use a tripod setup and deploy it at camp rather than mounting it permanently, which works fine until it's windy or you're in a spot where you can't set up outside.
Clear sky. Starlink needs a clear view of the sky to maintain a connection. Dense tree cover, narrow canyons, or parking next to a building on one side can all cause dropouts. The app has a tool that lets you check obstruction before you commit to a campsite, which becomes second nature after a while.
Is it worth it?
If you work remotely and camp in remote areas regularly, yes. The peace of mind of knowing you'll have internet at almost any campsite is worth $120/month by itself. If you mostly stay near towns and have good cellular, it's an expensive backup that you might not need.
Option 3: Public Wifi
Coffee shops, libraries, and (if you're desperate) fast food restaurants. Public wifi is not a primary internet strategy. It's a fallback.
Libraries are the unsung heroes. Many public libraries in small towns have solid wifi that extends to the parking lot. Free, reliable, and open during business hours. Some nomads plan their work schedule around library hours, getting their heavy-bandwidth work done from 9-5 and using cellular for email in the evening.
Coffee shops vary wildly. A specialty coffee shop in Bend, Oregon might have 100 Mbps. A gas station coffee counter in rural New Mexico might have wifi that technically exists but can't load Google. You learn to check speeds before ordering.
Walmart parking lots are a well-known nomad hack. Many Walmarts allow overnight parking and have wifi that reaches the lot. The speeds are terrible but it's free and it's everywhere.
The Backup Strategy
Here's the rule that every experienced remote-working nomad eventually arrives at: you need two internet sources.
It doesn't matter which two. Cellular from two different carriers. Cellular plus Starlink. Starlink plus a library card for every state you visit. But relying on a single internet source while your income depends on connectivity is a gamble that will eventually fail.
The most common setup among full-time remote workers is a T-Mobile or AT&T unlimited plan as the primary, with Starlink as the backup for remote camping. This covers roughly 95% of situations. The other 5% is when you're in a canyon with no cellular and too many trees for Starlink, and those are the days you drive to a library.
Power Considerations
Your internet setup has a power cost, and it matters more than you'd think.
- Phone hotspot: Negligible. Your phone uses about 2-3 watts while hotspotting.
- Dedicated hotspot device: Around 5-10 watts. Still very manageable.
- Signal booster: About 5-8 watts. Basically free in terms of power budget.
- Starlink: 40-75 watts. This is where it gets real. Over an 8-hour workday, that's 320-600 watt-hours, which is a significant portion of most van solar setups.
If you're running Starlink, you probably want at least 400W of solar and 300Ah of lithium batteries to stay comfortable. Or a way to charge while driving on work days.
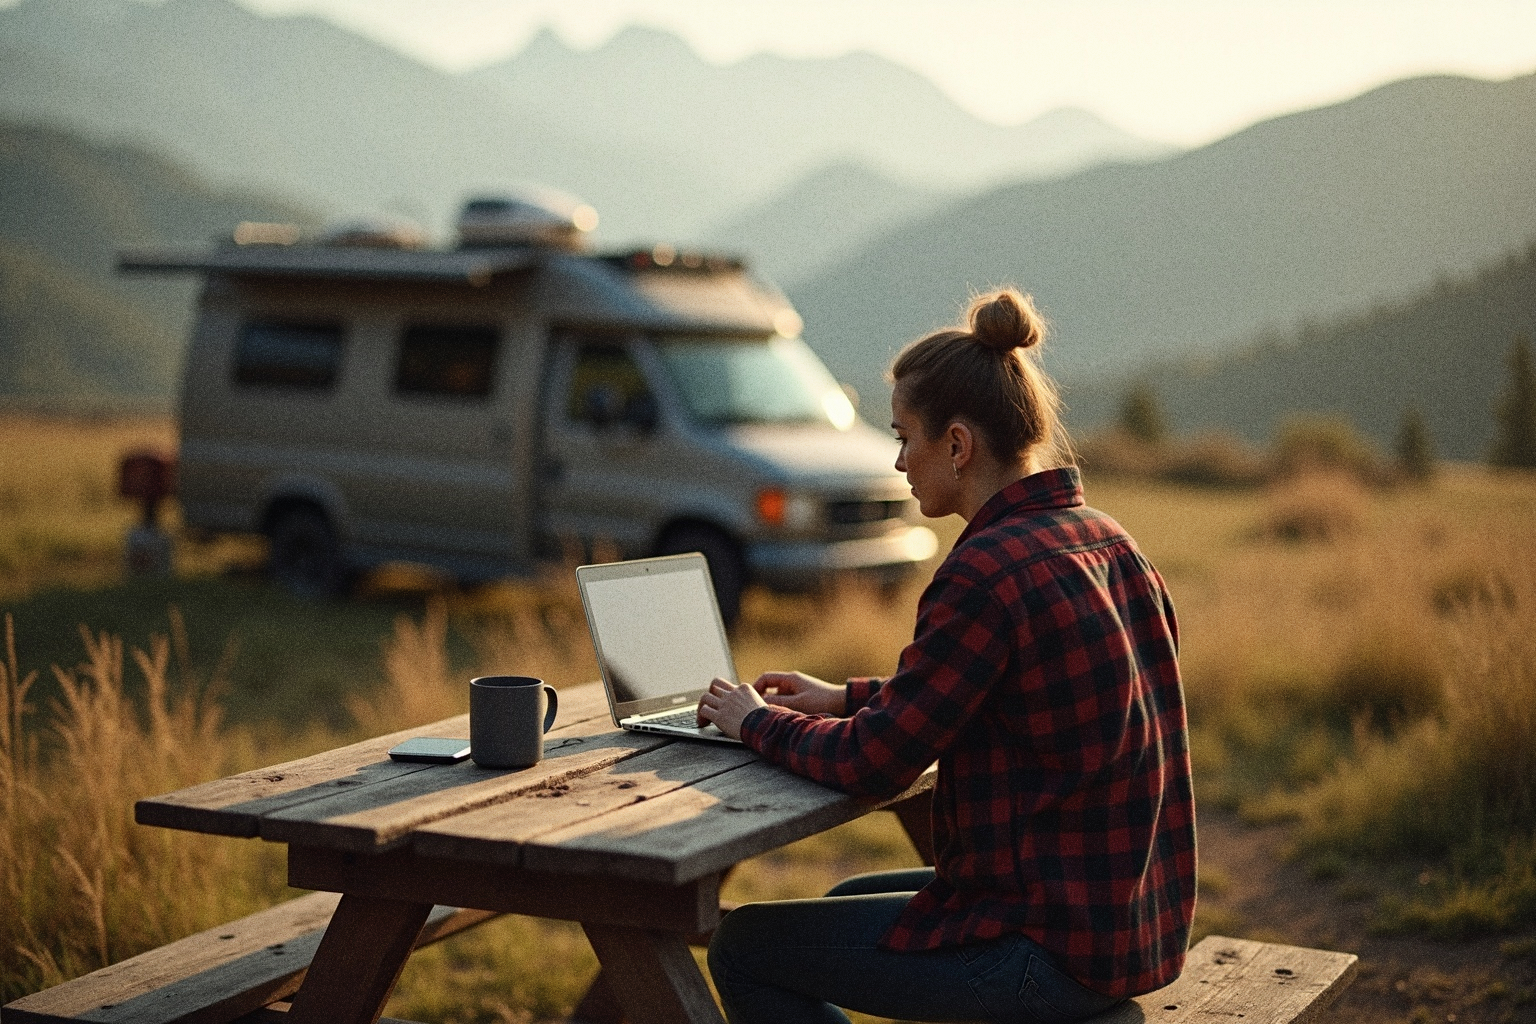
Planning Routes Around Coverage
Nobody talks about this before they start, but it's one of the biggest lifestyle shifts of working from a van: you plan your route around internet, not just scenery.
That stunning dispersed campsite deep in a national forest? Beautiful. No signal. The slightly less scenic spot on the ridge three miles away? Four bars of LTE. Guess where you're sleeping on a work night.
Over time, you develop an instinct for it. Elevation helps for cellular. Clear sky helps for Starlink. Proximity to any town helps for both. You start checking coverage maps and the Starlink obstruction tool before you even look at campsite reviews.
Some nomads split their week: remote and off-grid on weekends, closer to towns with reliable signal during the work week. It's a good compromise that lets you have both the wild camping experience and the stable connection your job requires.
The best internet setup is the one that matches how you actually travel, not the one that looks best on a YouTube gear list.
The Real Setup
If someone put a gun to your head and said "pick one setup that works for most remote-working nomads," it would be this:
- T-Mobile Magenta Max plan on your phone (unlimited hotspot)
- An AT&T prepaid line on a second phone or dedicated hotspot (backup carrier)
- A WeBoost Drive Reach signal booster
- Starlink Roam if your power setup can handle it and your budget allows
Total monthly cost: $70 (T-Mobile) + $50 (AT&T prepaid) + $120 (Starlink, optional) = $120-240/month. The signal booster is a one-time $450. The Starlink hardware is another $300-600 depending on the dish version.
Is it cheap? No. Is it cheaper than losing your remote job because you couldn't get online for three days? Significantly.
The nomads who've been doing this for years will tell you the same thing: internet is a line item in your van life budget, not an afterthought. Budget for it like you budget for gas and food, because for remote workers, it's equally essential.
Frequently Asked Questions
What is the best internet option for van life in 2026?
The best van life internet setup in 2026 is a combination: a primary cellular hotspot (Verizon or AT&T plan with unlimited high-speed data) for everyday use, Starlink Roam ($50-150/month) as a backup or primary if you need reliable connectivity in remote areas, and a signal booster (weBoost) to extract more performance from weak cell signals. Pure cellular works for most nomads who stay within 30 miles of major roads; Starlink becomes essential for full-time remote workers who go truly off-grid.
Is Starlink worth it for van life?
Starlink is worth it for van life if you work remotely full-time and frequently camp outside major cell coverage. The Starlink Roam plan ($50-150/month depending on data tier) provides reliable high-speed internet on most BLM land, in National Forests, and other locations cellular doesn't reach. The downsides are the $599 hardware cost, ~80W power draw (significant battery drain), and the dish needing a clear sky view. For nomads who stay near towns and highways, a strong cellular plan is usually cheaper and sufficient.
What cell carrier has the best coverage for van life?
For van life in 2026, Verizon has the broadest rural coverage in the Western US (including most BLM and National Forest land), making it the most common primary carrier among full-time nomads. AT&T is competitive and often better in some regions like the Texas-Oklahoma corridor and the Northeast. T-Mobile has the best urban speeds but rural coverage is weaker. Many full-time nomads carry two carriers — typically Verizon plus AT&T — to ensure connectivity wherever they camp.
Can you work remotely from a van without Starlink?
Yes, you can work remotely from a van without Starlink — most nomads did before Starlink existed. The trick is planning routes around cell coverage: use Campendium and Coverage? to identify spots with strong Verizon or AT&T signal before you commit to camping there, carry a signal booster for marginal-signal sites, and keep a list of fallback locations (libraries, coffee shops, coworking spaces) in nearby towns. Starlink reduces the planning overhead but isn't required.
Do you need a cell signal booster for van life?
A cell signal booster (most commonly weBoost Drive Reach RV or Drive X RV, $400-$650) is worth it if you work remotely from a van — it can convert a 1-bar unusable signal into a 3-bar workable connection in a high percentage of marginal-signal locations. It doesn't create signal where none exists. For occasional travelers who can adjust their location, a booster is optional. For full-time remote workers, it's typically considered essential infrastructure alongside a quality cellular plan.
Find other remote workers on the road
nomatch is a verified community of van lifers, RV travelers, and digital nomads. See who's nearby, find someone to cowork with, and stop working alone in parking lots.